
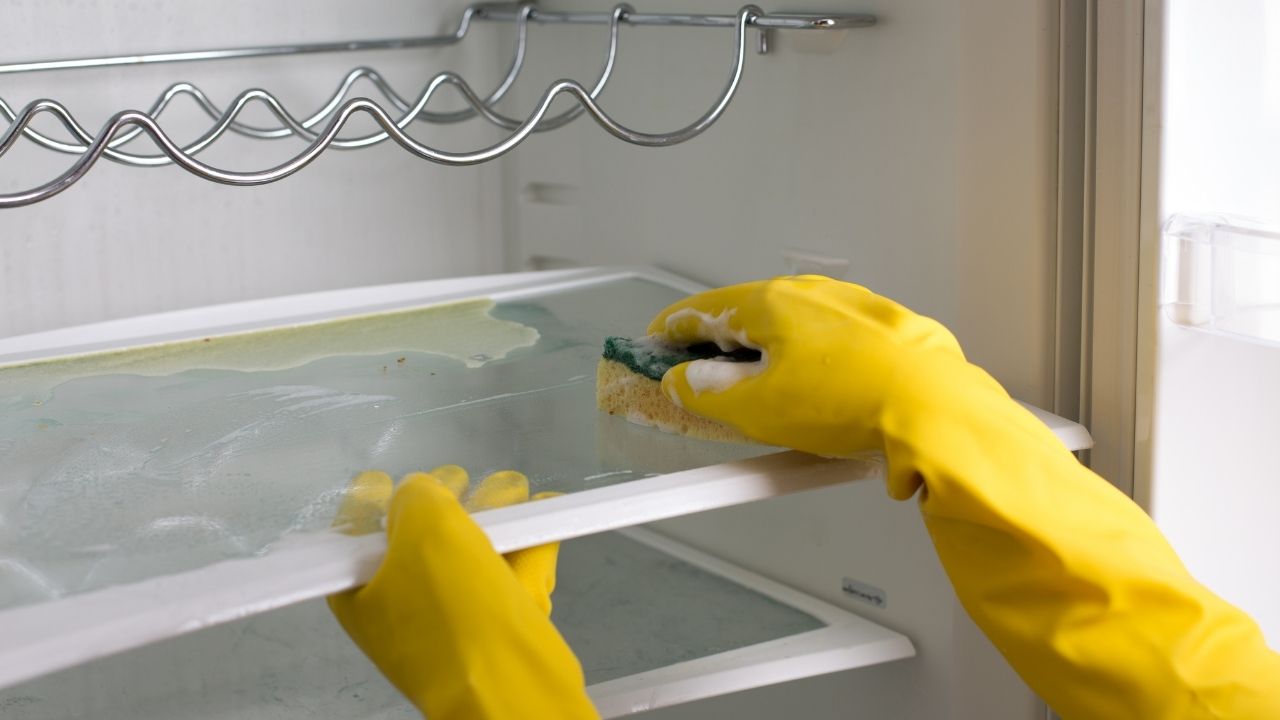
Deep cleaning your refrigerator means emptying it completely, scrubbing every shelf, drawer, and wall surface, cleaning the coils and drainage, and eliminating the odors that a quick wipe-down never reaches. It takes about 45–90 minutes and makes a bigger difference to your food safety — and your electricity bill — than most people realize.
TL;DR A quick wipe of the shelves isn't a deep clean — hidden grime lives in the door gaskets, drip pan, back wall, and underneath the fridge. Deep clean your refrigerator every 3–6 months; do a light clean monthly. You only need baking soda, dish soap, white vinegar, and a few cloths — no special equipment required. Dirty condenser coils make your fridge work harder, raising electricity consumption by up to 25%. Food odors and bacteria from expired items spread to fresh food — regular deep cleaning is a food safety habit, not just an aesthetic one. The full process takes 45–90 minutes and costs almost nothing to do at home.
Why Deep Cleaning Your Fridge Is a Food Safety Issue
(Not Just a Hygiene One)
Most people wipe a spill when it happens and call it done. The fridge looks fine. But looks don’t tell you what’s happening at the back of the bottom drawer, behind the vegetable crisper, or along the rubber door gasket.
Bacteria from raw meat drippings, mold spores from overripe fruit, and the invisible residue of expired sauces all accumulate in corners a surface wipe never reaches. Those bacteria don’t stay in one spot — they transfer to fresh food, to containers, to your hands.
📊 Stat Block According to the Food and Drug Administration Philippines (FDA), foodborne illnesses affect an estimated 3.5 million Filipinos annually — with improper food storage and cross-contamination in the home kitchen among the leading causes. The refrigerator is one of the most overlooked sources of household cross-contamination, particularly in the door gaskets and produce drawers where moisture and organic residue accumulate.
A deep clean also does something more practical: it makes your refrigerator run better. Dust-clogged condenser coils force the compressor to work harder, which raises electricity consumption and shortens the appliance’s lifespan.
Before You Start: What You'll Need
| Item | Estimated Cost |
|---|---|
| Dish soap (e.g. Joy) | ₱30–₱80 |
| Baking soda (1 box) | ₱50–₱100 |
| White vinegar (250–500ml) | ₱30–₱60 |
| Spray bottle | ₱50–₱100 |
| Microfiber cloths or clean rags (x3) | ₱80–₱200 |
| Old toothbrush (for gaskets and corners) | ₱20–₱50 |
| Soft brush or coil brush (optional, for coils) | ₱80–₱150 |
| Total estimated cost | ₱340–₱740 |
Everything else — a basin, warm water, a cooler for your food — you already have.
📊 Stat Block A study by the Lawrence Berkeley National Laboratory found that dirty condenser coils increase a refrigerator's energy consumption by up to 25%. In the Philippines, where the average household electricity rate sits at around ₱10–₱12 per kWh (Meralco residential rate, 2024), a fridge running 24 hours a day with clogged coils can add hundreds of pesos to your monthly bill — purely from neglected cleaning.
Step-by-Step: How to Deep Clean Your Refrigerator
Step 1: Empty the fridge completely
Take everything out — every shelf, every drawer, every bottle and container. As you go, check expiry dates ruthlessly. This is the best time to throw out condiments that have been there since the last administration, mystery leftovers, and anything with visible mold.
Place perishables in a cooler with ice or a clean basin. The entire cleaning process should take less than 90 minutes, so food safety isn’t a concern if you work efficiently.
Step 2: Remove all shelves, drawers, and removable parts
Take out every shelf, glass panel, vegetable crisper, egg tray, and door compartment that can be detached. Bring them to the kitchen sink.
Important: If your shelves are glass, let them come to room temperature before running water over them. Cold glass + hot water = cracking. Give them 10–15 minutes on the counter first.
Step 3: Wash shelves and drawers in the sink
Wash all removable parts with warm water and dish soap, just like you’d wash dishes. Use a sponge or cloth to scrub off any sticky residue or dried spills. For stubborn buildup, let the parts soak for 5–10 minutes first.
Rinse thoroughly and set aside to air dry. Do not put wet shelves back into the fridge — you want them fully dry before reassembly.
Step 4: Clean the interior walls, ceiling, and floor
Mix a solution of warm water and dish soap in a spray bottle or basin. Spray or wipe down all interior surfaces — the back wall, side walls, ceiling, and floor of the fridge cavity. Work from top to bottom so any drips fall onto unscrubbed surfaces.
For sticky residue or dried spills on the interior walls, let the soapy solution sit for 2–3 minutes before wiping. A damp microfiber cloth picks up more than a dry rag.
Follow up with a light spray of white vinegar solution (equal parts vinegar and water) and wipe dry. Vinegar neutralizes odors and kills surface bacteria without leaving chemical residue that could transfer to food.
Step 5: Scrub the door gaskets
This is the step most people skip — and the dirtiest part of any fridge.
The rubber gasket (the seal running around the inside edge of the door) traps crumbs, moisture, mold, and bacteria in its folds. Run your finger along it and you’ll see what we mean.
Dip an old toothbrush in your dish soap solution and scrub along every fold of the gasket. Work slowly and methodically around the entire perimeter of the door. Wipe clean with a damp cloth. For black mold spots, apply a small amount of undiluted white vinegar and let sit for 5 minutes before scrubbing.
A clean, pliable gasket also seals better — which keeps cold air in and reduces energy waste.
Step 6: Clean the exterior and top of the fridge
Wipe down the exterior with a damp cloth and a small amount of dish soap. Pay attention to the door handle, which is one of the most touched surfaces in the kitchen and one of the most bacteria-laden.
The top of the refrigerator collects grease, dust, and kitchen grime faster than almost any other surface — especially in Filipino kitchens where frying is a daily activity. Spray with your vinegar solution and wipe thoroughly.
Step 7: Clean the condenser coils
This is the step that saves you money.
The condenser coils are located either at the back of the fridge or underneath it behind a removable kick plate. They look like a grid of thin metal fins. Over time, they collect dust and pet hair, which acts as insulation and forces the compressor to work harder to maintain temperature.
Unplug the fridge before touching the coils. Use a soft brush, coil brush, or even a long-handled duster to gently brush away dust and debris. Vacuum up the loosened dust if you have one. Plug back in when done.
Do this at least once a year. Twice a year if you have pets.
Step 8: Clean the drip pan
The drip pan sits at the bottom of your fridge (usually beneath the kick plate near the coils) and collects condensation. It’s rarely seen and almost never cleaned — which means in many homes, it’s a petri dish of stagnant water, mold, and bacteria.
Slide it out, empty it, and wash it with hot soapy water. Dry completely before replacing.
Step 9: Reassemble and restock
Once all shelves and drawers are fully dry, slide them back into place. Before restocking, wipe down the outside of bottles and containers with a damp cloth — no point putting grimy jars back into a clean fridge.
Place an open box of baking soda on one of the shelves. It absorbs odors passively and should be replaced every 1–3 months.
Restock your food, organizing as you go: raw meat on the lowest shelf, dairy and cooked food in the middle, produce in the crisper drawers.
Step 10: Set the right temperature
A properly calibrated refrigerator keeps bacteria growth in check. The ideal temperature is:
- Fridge compartment: 1°C–4°C (34°F–39°F)
- Freezer compartment: -18°C (0°F) or below
Many household fridges in the Philippines are set too warm — especially when the dial is on a numbered setting rather than a temperature display. Use a small fridge thermometer (available at hardware stores for around ₱80–₱150) to confirm your actual temperature.
How Often Should You Deep Clean Your Refrigerator?
| Cleaning Task | Frequency |
|---|---|
| Wipe spills immediately | As they happen |
| Light interior wipe-down | Monthly |
| Full deep clean (all steps above) | Every 3–6 months |
| Condenser coil cleaning | Once or twice a year |
| Replace baking soda deodorizer | Every 1–3 months |
| Check and replace door gasket | When it stops sealing tightly |
How Often Should You Deep Clean Your Refrigerator?
How Often Should You Deep Clean Your Refrigerator?
| Cleaning Task | Frequency |
|---|---|
| Wipe spills immediately | As they happen |
| Light interior wipe-down | Monthly |
| Full deep clean (all steps above) | Every 3–6 months |
| Condenser coil cleaning | Once or twice a year |
| Replace baking soda deodorizer | Every 1–3 months |
| Check and replace door gasket | When it stops sealing tightly |
Frequently Asked Questions
How often should I deep clean my refrigerator?
A full deep clean — shelves, walls, gaskets, coils, and drip pan — should happen every 3–6 months for most Filipino households. Do a lighter wipe-down of the interior monthly, and wipe spills immediately as they happen. If you notice persistent odors, visible mold, or your fridge seems to be running warmer than usual, deep clean it immediately regardless of schedule.
What's the best homemade solution for cleaning the inside of a fridge?
Two solutions cover everything you need. First: warm water mixed with a small amount of dish soap for general cleaning and cutting through grease. Second: equal parts white vinegar and water in a spray bottle for deodorizing and surface disinfection. Avoid bleach inside the fridge — it can leave residue that transfers to food and breaks down rubber gaskets over time. Baking soda is your odor absorber, not a cleaning solution on its own.
Why does my fridge smell even after I clean it?
Persistent fridge odor after cleaning usually comes from one of three sources: the drip pan (which collects stagnant water and is often skipped during cleaning), the door gasket folds (where mold hides), or a leftover residue from a spill that soaked into a surface crack or shelf edge. Place an open box of baking soda inside after cleaning and replace it every 1–3 months. If the odor persists, check the drip pan first — it’s the most overlooked culprit.
Can I use bleach to disinfect the inside of my refrigerator?
It’s not recommended for regular use. Bleach is a strong disinfectant but it degrades rubber gaskets over time, can leave a chemical residue near food, and the fumes linger inside a closed appliance. White vinegar is a safer and effective alternative for inside the fridge — it kills most common surface bacteria and neutralizes odors without the downsides. Reserve bleach for the drip pan and exterior surfaces only, rinsing thoroughly afterward.
Ready for a Cleaner Home? Let Tita Kleans Help
Deep cleaning your refrigerator is a great start, but it’s only one part of maintaining a clean and healthy home. Kitchens, bathrooms, living spaces, and other hard-to-reach areas also need regular attention to keep dirt, grease, and bacteria from building up over time.
If you’re ready to go beyond cleaning a single appliance, Tita Kleans offers professional residential cleaning services across Metro Manila and nearby areas. Our trained cleaning teams use proven methods and detailed checklists to leave your home feeling fresh, clean, and comfortable.
Whether you need a one-time deep clean or help preparing a property for guests or new occupants, we’re here to help.
Our most popular cleaning services include:
- Deep Cleaning Service – Perfect for homes that need a thorough top-to-bottom cleaning beyond routine housekeeping.
- Airbnb Cleaning Service – Reliable turnover cleaning for short-term rental hosts to help keep every guest arrival spotless.
- Post Construction Cleaning Service – Remove construction dust, debris, and fine particles after renovations or new builds.
- Move In Move Out Cleaning Service – Get your home ready before moving in or leave it spotless when it’s time to move out.
Ready to enjoy a cleaner home without spending your weekend scrubbing? Contact Tita Kleans today for a free quote and let our team handle the hard work while you enjoy the results.
Other Helpful Posts:
About the Author
Paolo T. is a Filipino entrepreneur who offers residential and commercial cleaning company based in the Philippines. Our team specializes in professional upholstery cleaning, deep cleaning, post-construction cleanup, and recurring home maintenance — using commercial-grade Kärcher equipment and eco-friendly, pet-safe solutions. We’ve helped hundreds of households and small businesses get their spaces genuinely clean, not just presentable.